$11 custom email address
For nearly free, enhance the professionalism of your online persona by adding an alias to gmail with your custom domain name like brent-stone.com. This avoids needing to pay monthly fees for services like Google Workspace if all you're really after is a custom email address.
Summary
By combining Gmail with Cloudflare domain registration, it's possible to get a custom and professional email address for the rock-bottom price of the annual ICANN domain registration fee of about $11 per year. This is because Cloudflare allows incoming mail to be redirected to your free Gmail account. Gmail allows outgoing mail to use that same email alias so long as you control the domain.
Requirements
- A free gmail address
- A free Cloudflare account
- A domain, like my brent-stone.com, using Cloudflare as your registrar.
Step One: Alias inbound email on Cloudflare
-
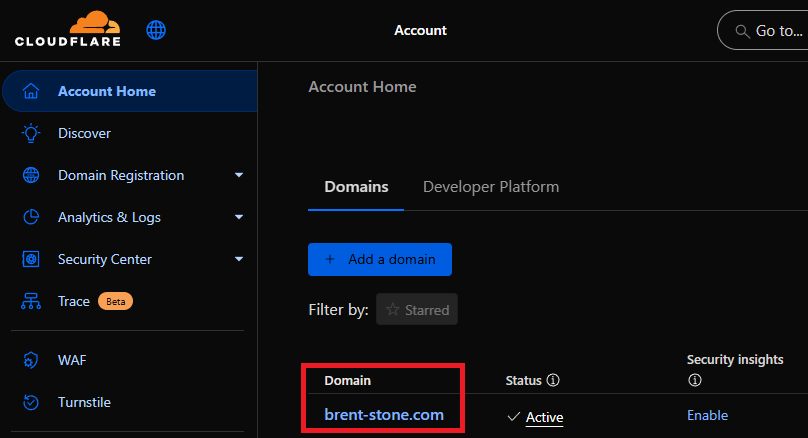
Login to the Cloudflare Dashboard and select the domain you'd like to use for your email alias.
-
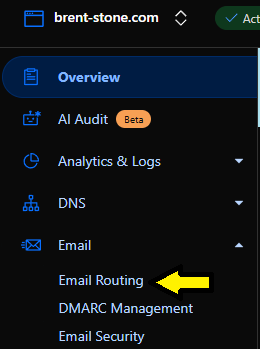
Enter the "Email Routing" menu
 }{data-gallery="custom-email"
 -
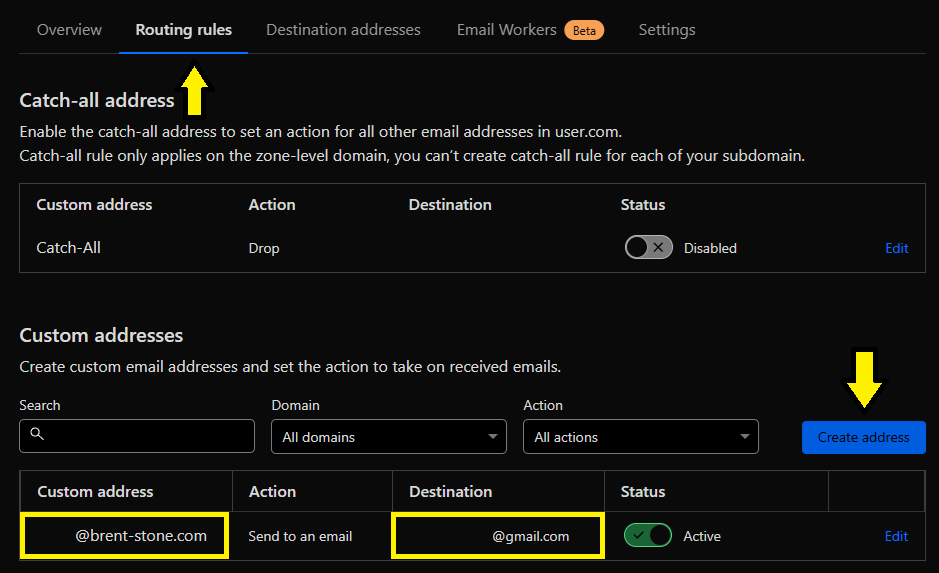
Select the "Routing rules" tab and "Create address" button to create an inbound email routing alias.
 }{data-gallery="custom-email"
 -
Pick what you'd like the public alias to be. Keep the
Actionas the default of "Send to an email" and type your free gmail address in theDestinationfield. You should now see an entry that looks similar to the picture above.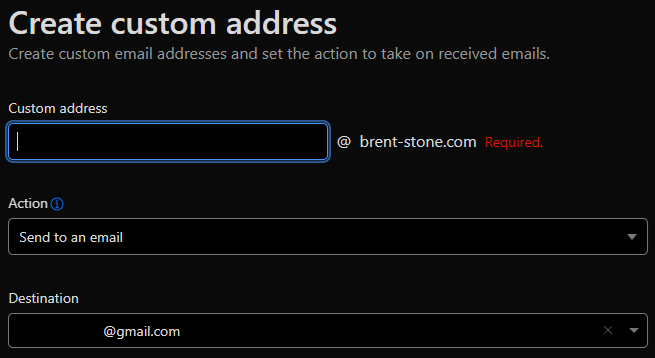
-
We'll need to include Google's information in the
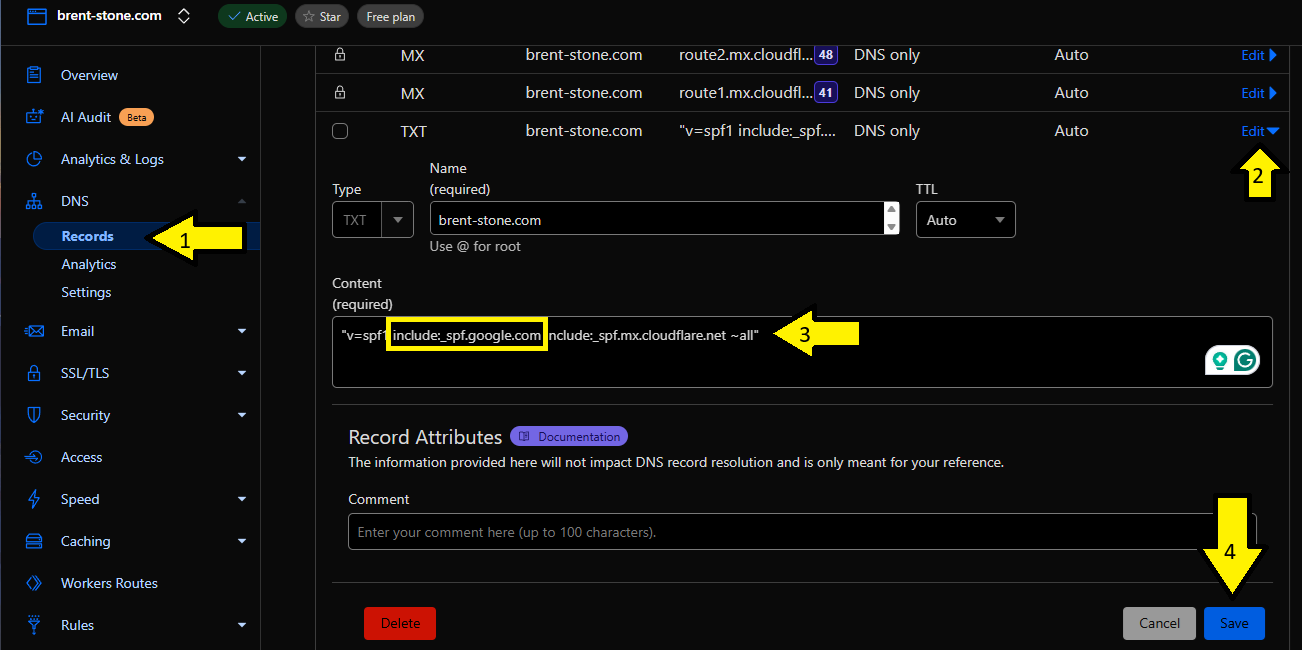
TXTDNS record cloudflare just created to allow the alias to be associated with your gmail account.- In the Cloudflare Dashboard for your domain, expand the
DNSmenu and selectRecords - Find the
TXTrecord that hasv=spf1....in the value. ClickEdit -
Trust but Verify
Verify this guide isn't out of date! If the
mx.cloudflare.netalias isn't what's originally shown in the TXT record automatically created by cloudflare, make sure to keep whatever the current alias is instead of replacing it. Simply add theinclude:_spf.google.comReplace the value with the following.
v=spf1 include:_spf.google.com include:_spf.mx.cloudflare.net ~all
- In the Cloudflare Dashboard for your domain, expand the
-
Test it out. Try sending an email to yourself using the new custom email address as the email recipient.
Step Two: Alias outbound email on Gmail
-
Turn on two-factor authentication for the Google account you'll use for email.
-
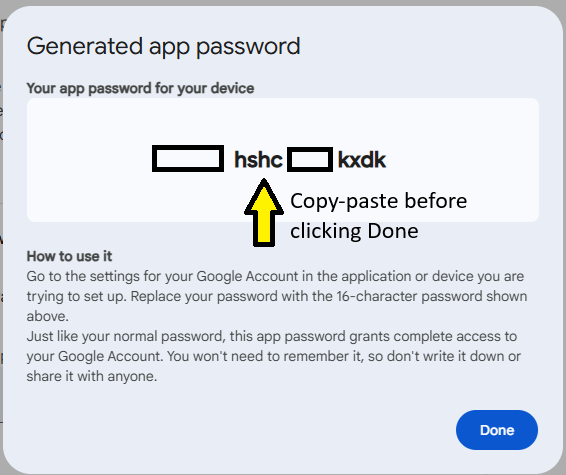
Write down the app password
Don't forget to temporarily copy-paste your app password somewhere safe. It won't be shown to you again and you'll need it later.
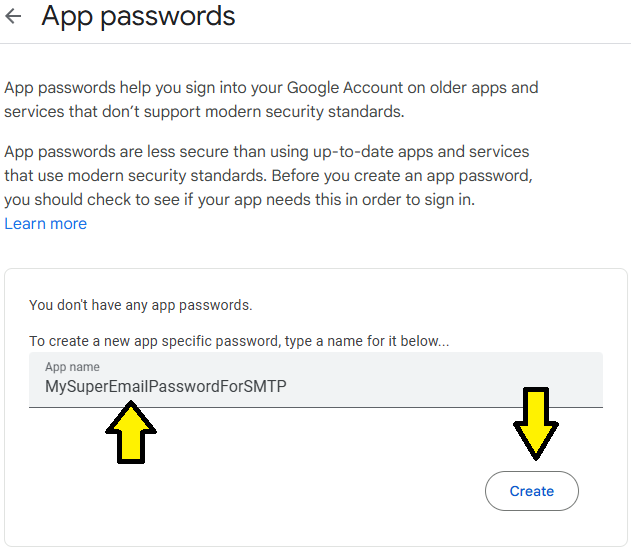
Create an app password for your Google account.
-
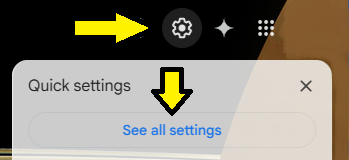
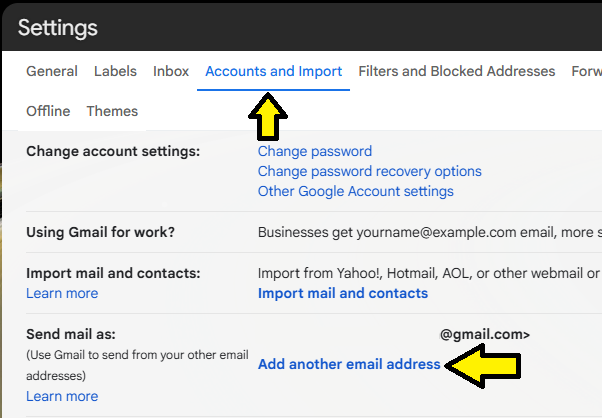
In Gmail, click the Gear in the top right and select "See all settings"
-
Under the "Accounts and Import" tab click the blue link for "Add another email address"
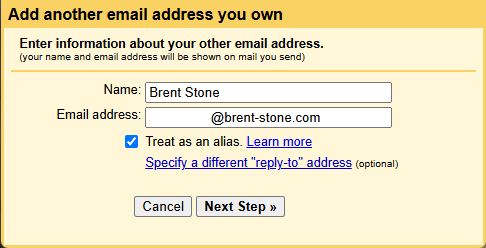
-
Type the name you'd like to appear in emails sent to others and the new custom email address you previously setup for inbound traffic on Cloudflare.
-
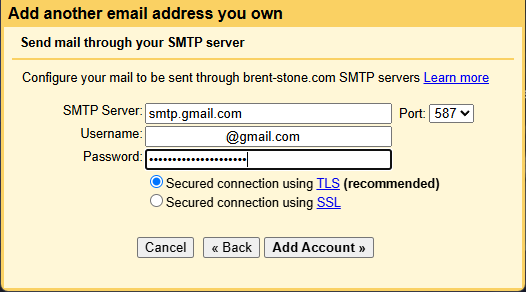
Use the following settings to configure outbound emails.
SMTP Server:smtp.gmail.comUsername:your @gmail.com account (including the @gmail)Password:The app password created earlier
Step Three: Test Inbound and Outbound Email
- Refresh the browser on the normal Gmail landing page where you read and write emails.
-
Click the "Compose" button. You should now see a dropdown in the
Frombox with your normal @gmail.com and your custom alias. Select the custom alias and send yourself a quick test email.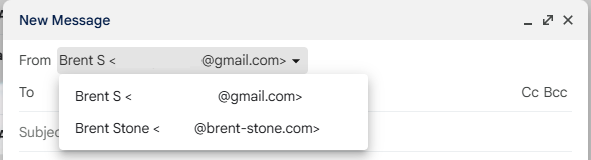
-
?????
- Profit